| View previous topic :: View next topic |
| Author |
Message |
vette74
Wakeboarder.Commie


Joined: 30 Jul 2003
Posts: 2144
City: Houston
|
 Posted: Jun 23, 2008 4:22 pm Post subject: Automatic Ballast install 2000lb all hidden in a d-drive Posted: Jun 23, 2008 4:22 pm Post subject: Automatic Ballast install 2000lb all hidden in a d-drive |
 |
|
Here is a write up on a custom ballast system I installed for my 86 Supra Saltare. I have approximately 2000lbs automatic ballast all hidden in a d-drive. Hopefully this will help some of you out in making your own. I still have a few minor bugs I am working out in the system but overall it is working well. I probably have about $600 in the whole system and that is not including two of the bags I had laying around the house.
The first item was to try and fit all the ballast bags inside storage compartments. The bow of the Supra Saltare as with many Supra’s made in the 80’s has a play pen bow which makes it ideal for hiding a ballast bag under the seats. For the Install I bought a Flyhigh triangle shaped bow sac for the front.
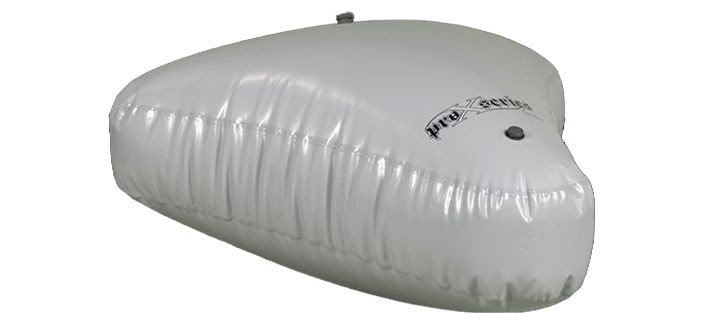
The supra has supports running front to back and side to side making a “T” shape in the front these will have to go. Of course mine were rotten anyway. But the key is to leave a structural rib to support the seat bottom when the ballast is empty. With the ballast full the bag will support it.
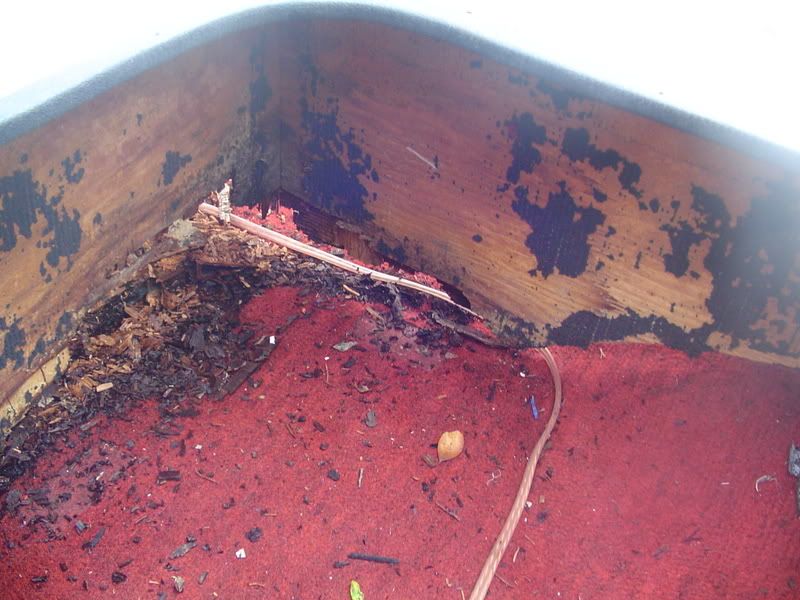
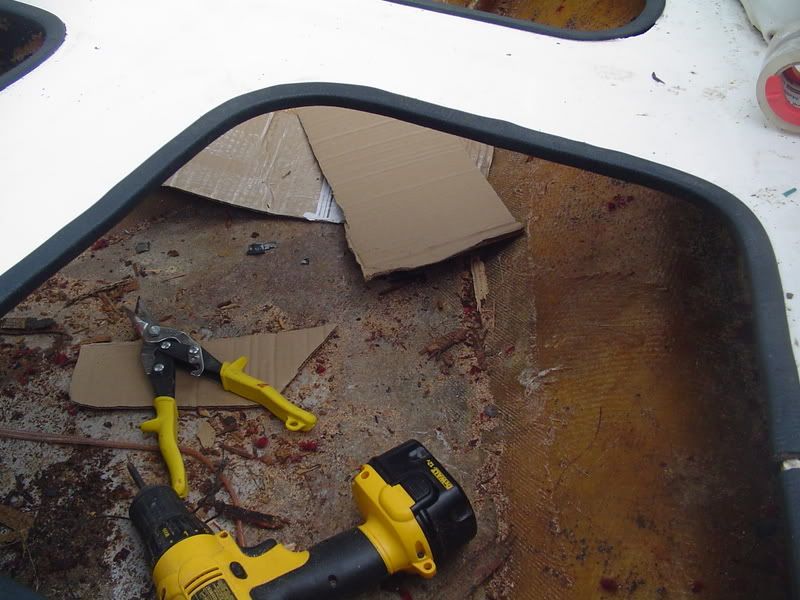
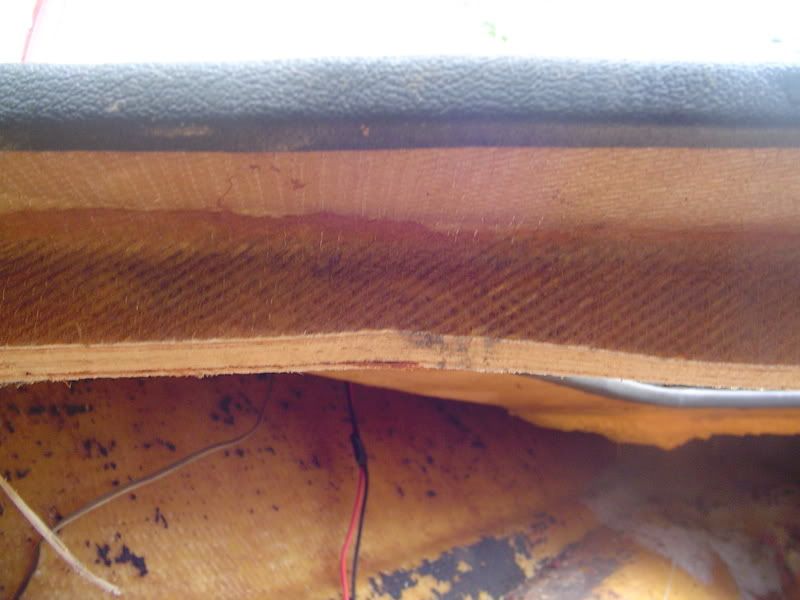
After the old supports are removed the seat bottom flexed a little too much for my liking so I added in new supports on the side and screwed/ liquid nailed them onto the ribs.
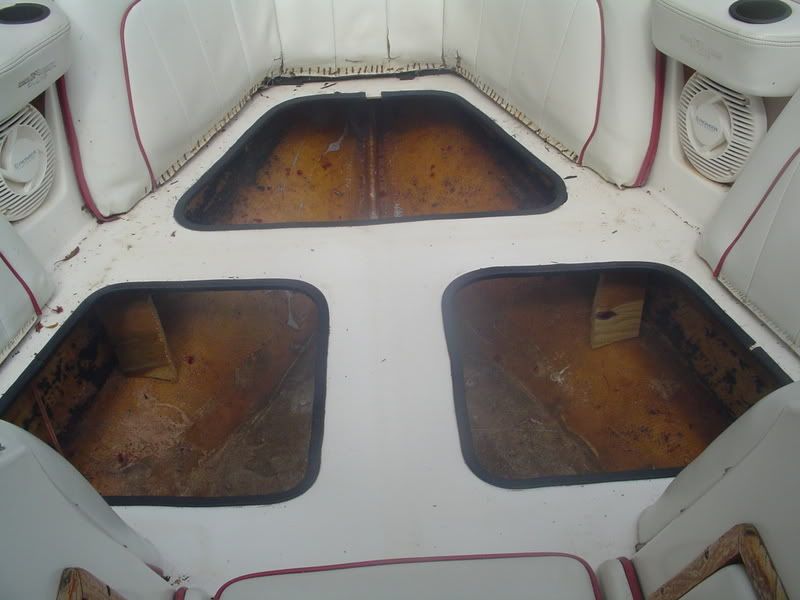
Now it is ready for the bag. In the pic I used the hose on the nose of the bag as the vent, the lower one in the back as the drain and the higher one in the back as the fill. I’ll put up the connection and hose pics later.


Now for the tricky part. The rear seat sat too low IMO and the seat bottom did not have adequate storage so this is going to have to be redone. It came with 2 storage compartments and I made one large one out of ¾” marine grade plywood. It is now large enough to fit a 700 lb sac almost to capacity.
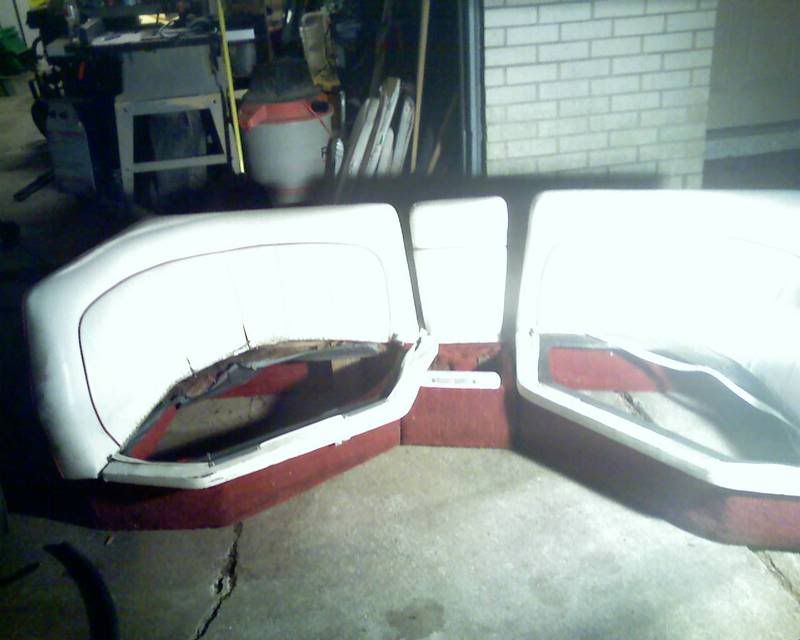
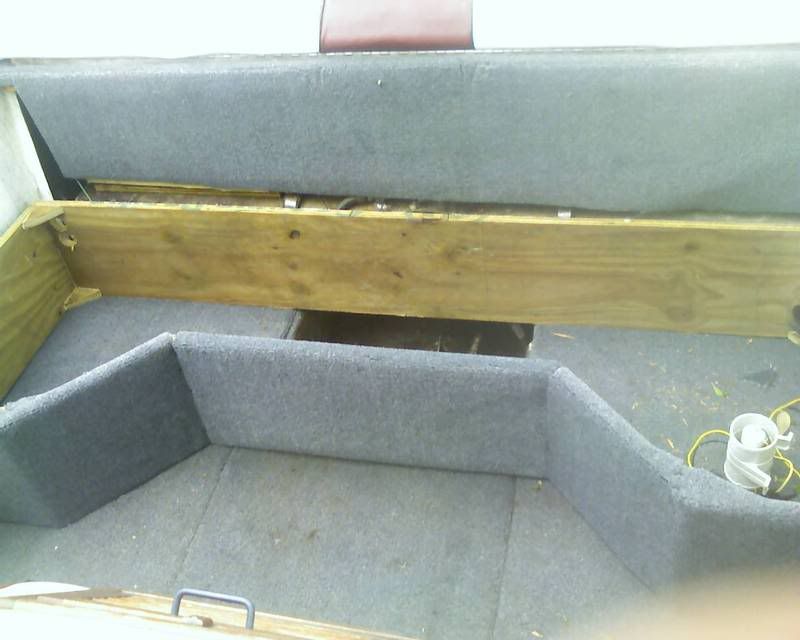
I raised the seat bottom up 4” and the center part out towards the engine about 7”. If I were to try and install the seats now then they would stick up 4” over the sides of theboat. To make it work correctly I removed the seat bottom support and cut off 4” off the plywood on the lower half of the seat backing. After the plywood was removed I removed the excess seat foam and curled the vinyl back under the seat backing and re-stapled. I basically made the seat backing 4” shorter taking out the material at the bottom. The seat bottom support was rotten on my boat so I rebuilt new ones and wrapped it in new vinyl and joined the two together and reinstalled it.
_________________
There'll be two dates on your tombstone/ And all your friends will read 'em/ But all that's gonna matter is that little dash between 'em... |
|
| Back to top |
|
 |
|
|
vette74
Wakeboarder.Commie


Joined: 30 Jul 2003
Posts: 2144
City: Houston
|
 Posted: Jun 23, 2008 4:40 pm Post subject: Posted: Jun 23, 2008 4:40 pm Post subject: |
 |
|
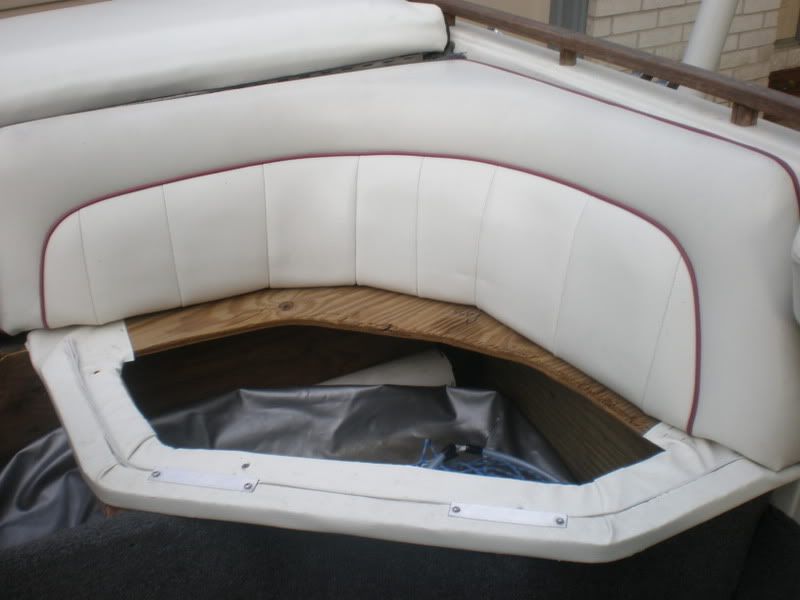
The blower runs in the back seat compartment. The weight of the ballast would crush it and the line so I took 4” pvc and cut a channel into the pipe lengthwise and put the piping for the blower inside it therefore it would be protected.
Insert new pic of blower.
The rear ski locker can almost fit 400 lbs of weight but since it is made of fiberglass and has no reinforcement under the ski locker floor. So that will have to change.
The gas tank on my boat is made out of thick aluminum and is very strong. I even jumped on top of it to give it a dymamic loading test and it didn’t even budge so I decided it could handle the weight. There is about 1.5” – 2” gap between the rear ski locker and the gas tank so I cut up a treated 2x4 into smaller pieces and scrap ½ plywood and used liquid nails to secure them to the gas tank.
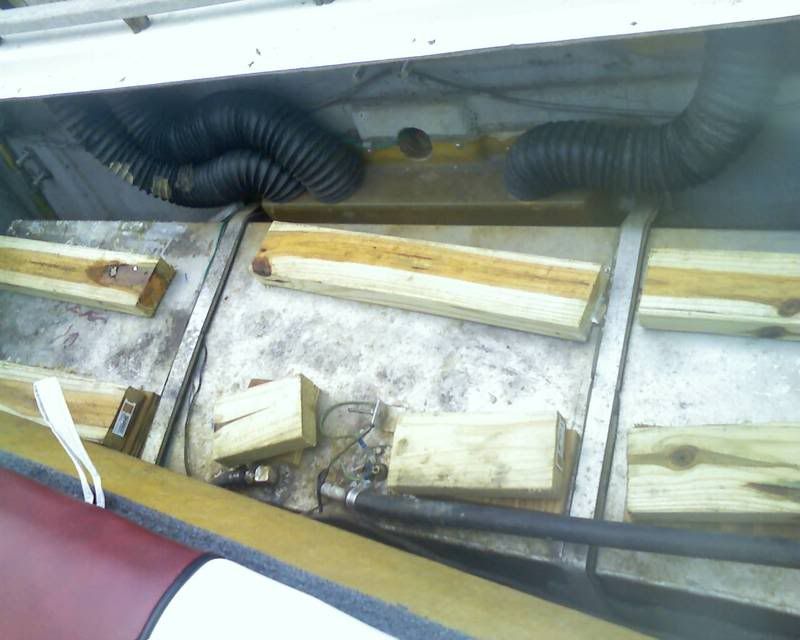
I installed the ski locker again and fitted the bag.
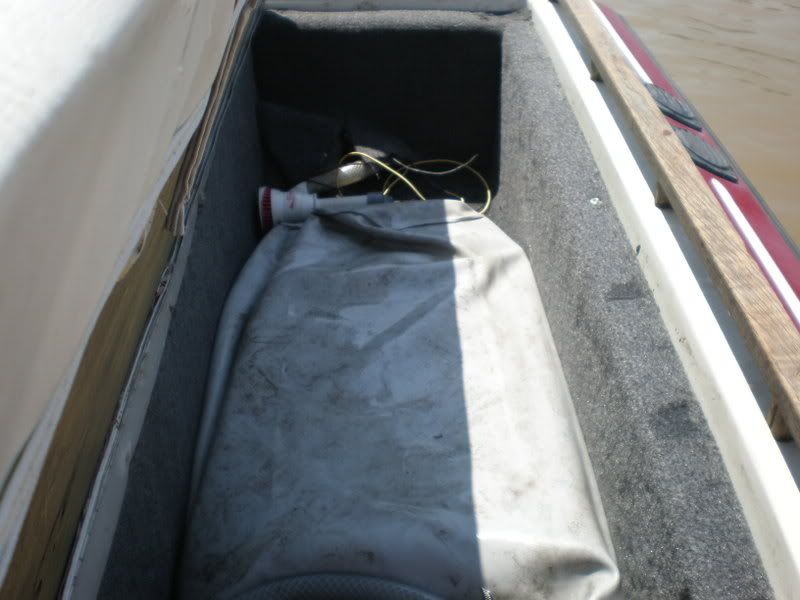
Perfect. Now to the wiring and pumps.
I decided to use aerator style pumps because if I run them dry they won’t burn up and they are cheaper. The only problem is that they are not self priming or reversible. For this application I am using 6 pumps one to fill each bag and one to empty. I mounted the 3 fill pumps to a manifold and my 3 empty on the same board. I wanted to have all my pumps in one location so all my tubing and wires goes to the same spot (I later moved 2 empty pumps to the ballast bags to help drain them).
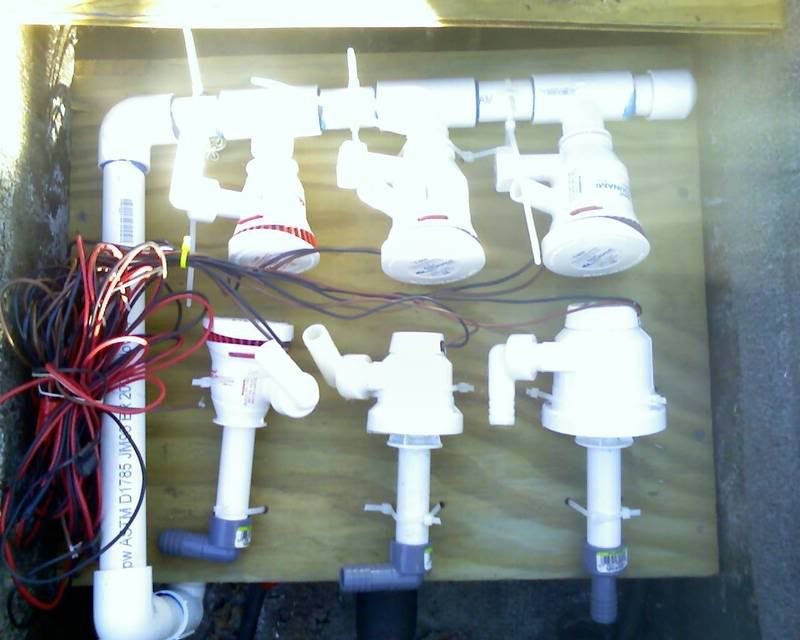
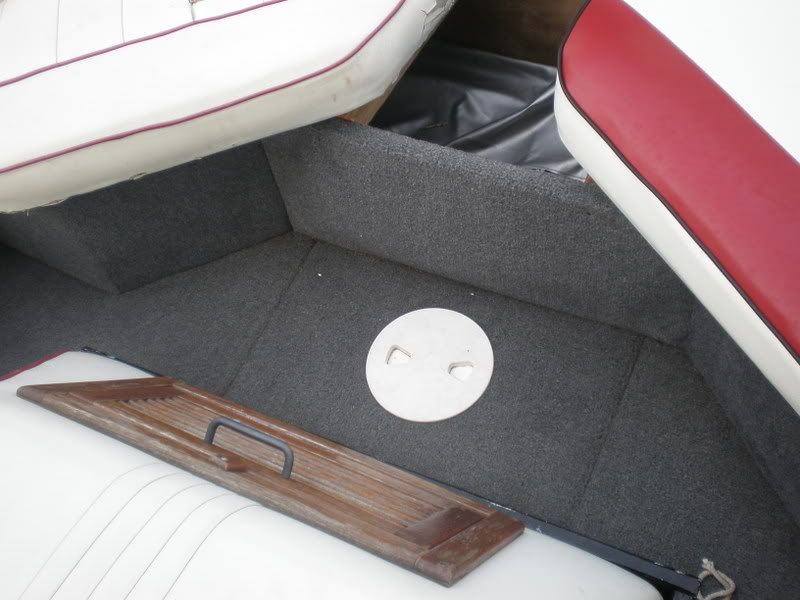
I put 2x4’s on each side of the board to raise it above the drive shaft. The board is placed in my bilge behind the engine above the drive shaft and I later added an access cover.
_________________
There'll be two dates on your tombstone/ And all your friends will read 'em/ But all that's gonna matter is that little dash between 'em... |
|
| Back to top |
|
 |
vette74
Wakeboarder.Commie


Joined: 30 Jul 2003
Posts: 2144
City: Houston
|
 Posted: Jun 23, 2008 4:53 pm Post subject: Posted: Jun 23, 2008 4:53 pm Post subject: |
 |
|
I have a scoop I mounted on the bottom of the boat to intake the water. I chose the scoop because I wanted to fill my ballast when I am driving. Also, the head pressure it creates while underway helps prime the pumps. On top of the scoop I mounted a 1 ¼” gate valve to shut off the water from the gate valve I ran the pipe using 90’s to my manifold/ pumps.

For wiring I ran a separate ground wire from my battery through my engine compartment to the pumps so all the pumps would use 1 large ground wire joined at a distribution block. I also ran a new positive wire to under the helm from there I put a new fused distribution block that went to the pump switches.
For my switches I bought switches from waytec they are the on-off-on style switches with a removable cover. I got the idea from someone else who did a custom ballast system on this website. I cut the holes above the throttle for each switch with a jigsaw and then hand filed very carefully!
From that point I removed the rear speaker and used a fish tape to go from my freshly cut holes to the rear speaker and then I was able to guide the fish tape by hand from the rear speaker a couple of feet back where the seats will be and the fiberglass ends. From there I pulled 8 new wires (6 for the pumps and 2 wires incase I wanted to add something later) from the pumps back to the switches and connected everything up.
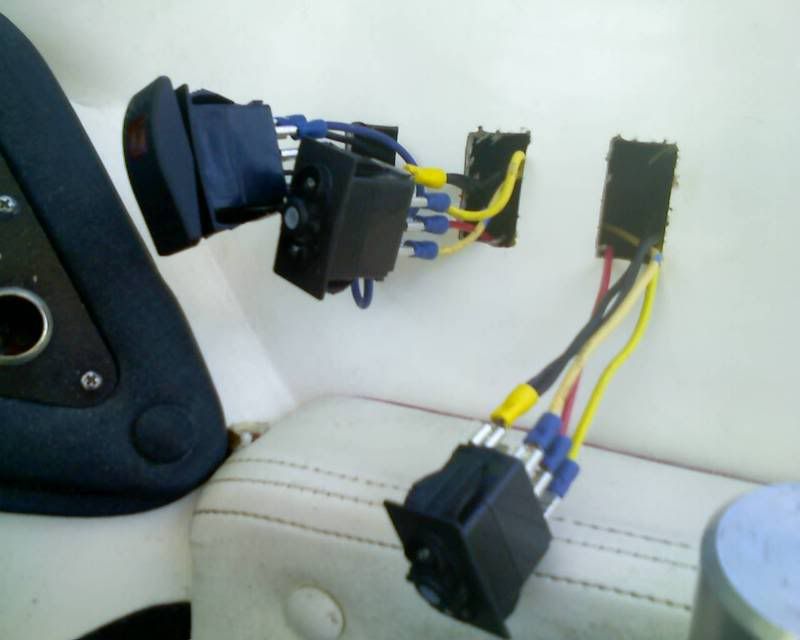
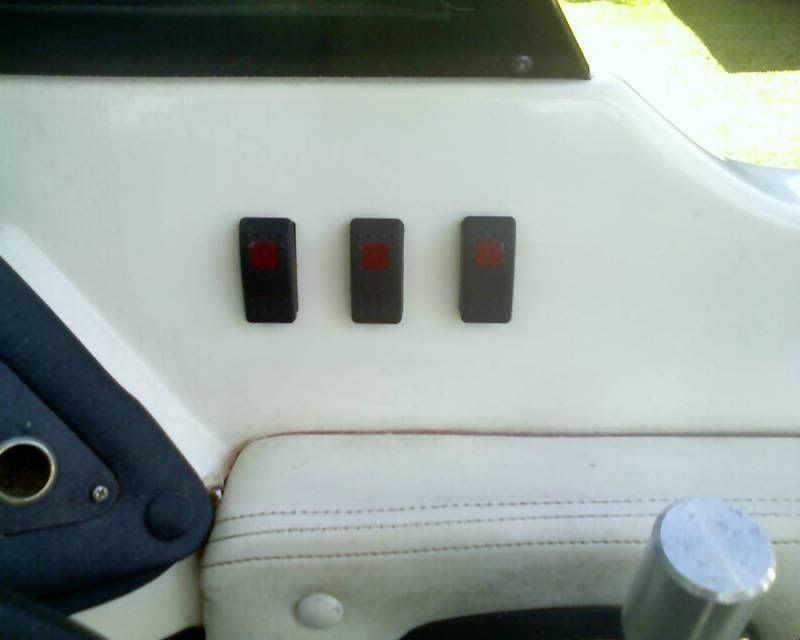
From this point I start to run the tubing for all the ballast. I used ¾” clear tubing from Home depot and stainless steel clamps. I also used ¾ pvc swing check valves I got from www.plumbingsupply.com These are actually key to having a successful ballast system. For the front ballast I ran initially 3 lines to the front (1 fill, 1 empty and one outfall near the front). This didn’t work so well since the line to drain had to travel so far and if there was any air in the line it didn’t work. So I chalked that up to experience and only used 1 line to the front to fill.
I installed the drain pump at the front sac and the drain line to it. The vent line has a check valve in it and I used a “T” after the check valve to tie in my empty line. The check valve serves 2 purposes one to keep air from getting back in the ballast and the other to keep the drain from going back into the sac. I did this so they can vent the same hole on the side of the boat.
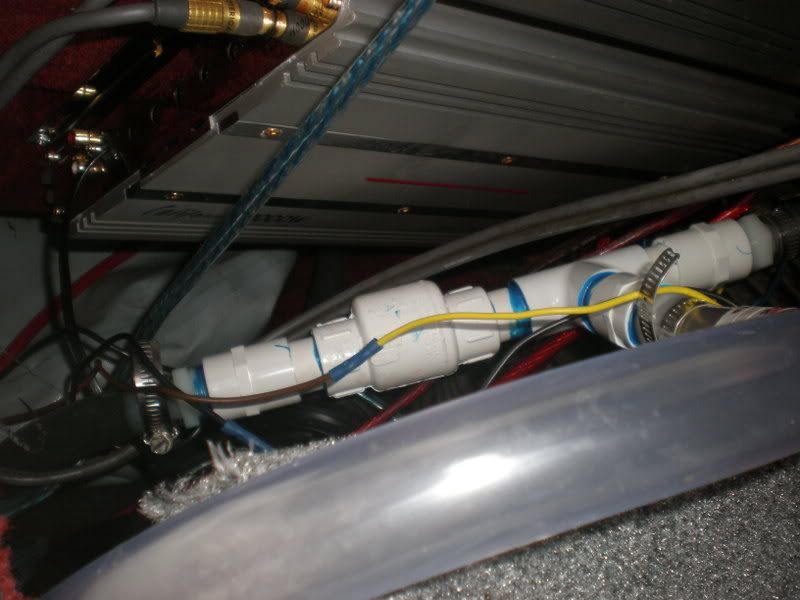
I also later installed another check valve on the fill side since my front sac kept filling the rear while underway.
For the center sac it is almost above the pumps so the tubing would not have to go as far. Also my rear sac only has 2 openings so on this one I cannot run a vent but it works just fine without it. I turned the ballast bag so the drains are about the 5 o’clock position on a clock. This was to help prime the pumps to drain. Since the pump is located just below the sac and the aerator pumps don’t really work for a checkvalve. I installed another check valve on the fill tubing. I then connected my fill pump and drain pump to each opening in the sac.
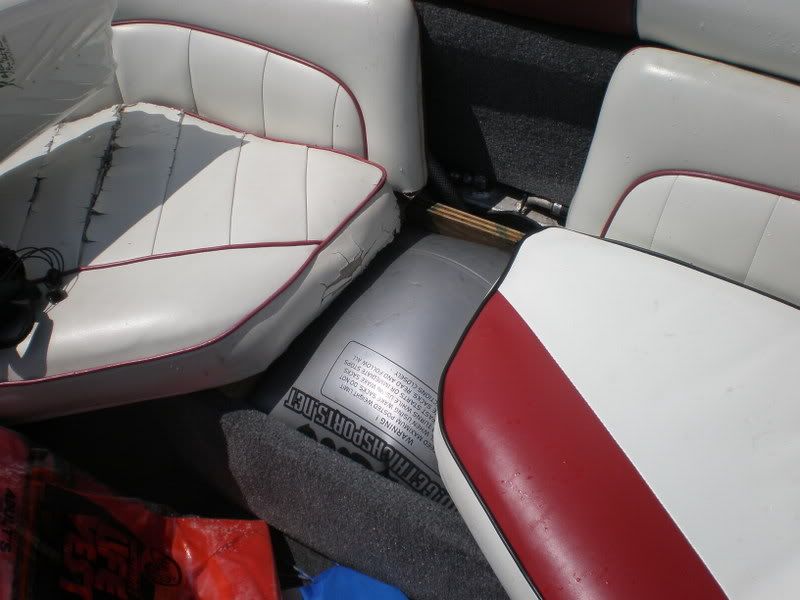
From the outflow of the drain pump I ran behind the back seat and used a check valve to help from keeping excess air from getting in. The outlet is near my gas cap.
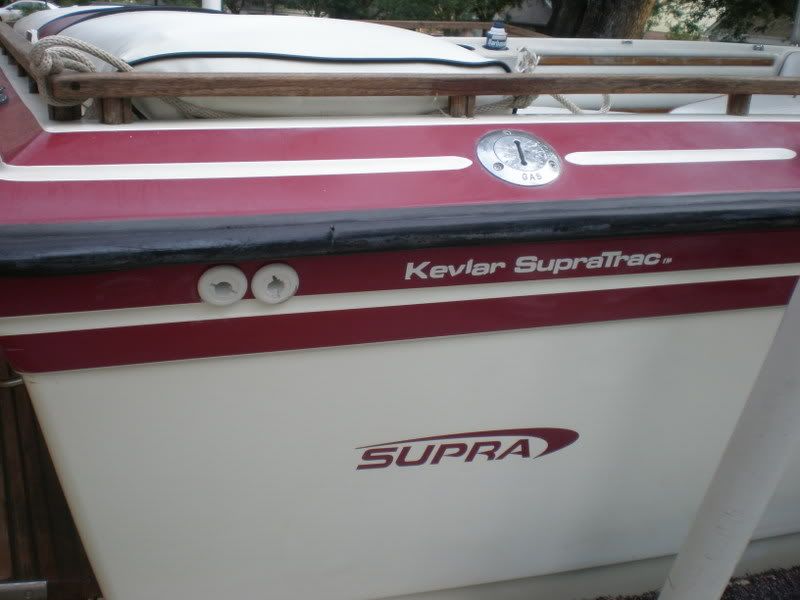
For the rear sac I drilled a drain and entrance hole in the fiberglass “tub” of the ski locker and hooked it up the same as the center sac. However I did mount the pump directly to the ballast bag. On the exit hole I put a loop with the tube high enough before it exited the hole so the water doesn’t drain out. There are also PVC check valves on those also.
Conclusion: The ballast system works great. Actually I don’t even use the ski locker sac unless I am surfing the boat is kind of a bitch to get on plane. There were a few bugs I worked out and they are in the writing above, most of them are fixed with check valves. However the front ballast drain wasn’t priming last weekend I think the hose might be kinked or something I’ll have to check it out. I hope this helps out someone, I know there are some holes in the write up let me know and I will try to explain it better.
_________________
There'll be two dates on your tombstone/ And all your friends will read 'em/ But all that's gonna matter is that little dash between 'em... |
|
| Back to top |
|
 |
bjeremi
Soul Rider

Joined: 30 Jan 2006
Posts: 433
City: Owasso
|
 Posted: Jun 23, 2008 5:22 pm Post subject: Posted: Jun 23, 2008 5:22 pm Post subject: |
 |
|
| Keep the pictures coming! |
|
| Back to top |
|
 |
bjeremi
Soul Rider

Joined: 30 Jan 2006
Posts: 433
City: Owasso
|
 Posted: Jun 23, 2008 5:27 pm Post subject: Posted: Jun 23, 2008 5:27 pm Post subject: |
 |
|
| How much did you end up spending on check valves? |
|
| Back to top |
|
 |
Erik
Old School Freak

Joined: 10 Mar 2003
Posts: 2830
City: Boston MA, Wolfeboro NH, DelRay FL, Montego Bay, Jamaica
|
 Posted: Jun 24, 2008 8:55 am Post subject: Posted: Jun 24, 2008 8:55 am Post subject: |
 |
|
OH MY GOD.
Awesome post. Really nice work. |
|
| Back to top |
|
 |
brichter14
Addict

Joined: 27 Apr 2008
Posts: 705
|
 Posted: Jun 24, 2008 9:58 am Post subject: Posted: Jun 24, 2008 9:58 am Post subject: |
 |
|
wake pics, before and after?
_________________
Lake Shelbyville, IL |
|
| Back to top |
|
 |
GuitsBoy
Soul Rider

Joined: 03 Sep 2004
Posts: 397
City: Long Island
|
 Posted: Jun 24, 2008 11:10 am Post subject: Posted: Jun 24, 2008 11:10 am Post subject: |
 |
|
Thats a pretty serious setup... Looks great. Is the 2K total the rated weight or have you already compensated for the confined space? Good work, man.
_________________
Long Island, NY & Canada Lake, NY (addirondacks)
'92 MasterCraft ProStar 205, 285 HP, 1500 Lbs. ballast
'06 Obrien Natural & '08 CWB Zeus CT |
|
| Back to top |
|
 |
vette74
Wakeboarder.Commie


Joined: 30 Jul 2003
Posts: 2144
City: Houston
|
 Posted: Jun 24, 2008 1:34 pm Post subject: Posted: Jun 24, 2008 1:34 pm Post subject: |
 |
|
bjeremi, I think I bought 6 check valves at about $13 each. Let me know what you want me to take pics of.
Erik, Thanks
brichter14, I'll try to get some after pics I only have a pic with ballast in the bow and a pic with no weight.
GuitsBoy, The back is measured but the bow ballast might be a little light I never measured it. However, I threw 100lbs of led in my anchor locker.
_________________
There'll be two dates on your tombstone/ And all your friends will read 'em/ But all that's gonna matter is that little dash between 'em... |
|
| Back to top |
|
 |
Wakebrad
Ladies Man


Joined: 11 Dec 2003
Posts: 12257
City: Dallas
|
 Posted: Jun 24, 2008 1:40 pm Post subject: Posted: Jun 24, 2008 1:40 pm Post subject: |
 |
|
vette74, awesome install man! Where do you ride at down in Houston? My wife's job wanted to move us to Houston but it doesn't look like that's going to happen. I was looking for places to ride down there and they looked pretty slim.
Sorry I didn't make it out to the PWT. I was crazy hung-over from a party the night before and it was almost noon before I woke up.
_________________
You have just entered the twilight zone. |
|
| Back to top |
|
 |
vette74
Wakeboarder.Commie


Joined: 30 Jul 2003
Posts: 2144
City: Houston
|
 Posted: Jun 24, 2008 1:53 pm Post subject: Posted: Jun 24, 2008 1:53 pm Post subject: |
 |
|
Thanks, There are several places we go. Cedar Bayou in Baytown is my new favorite there was even glass there on Memorial Weekend. If you don't mind riding Saltwater there are actually a lot of places to go but I would have to show you the good spots. The PWT was fun but very hot probably not a good place for a hangover.  My wife will probably be the doctor again there next year so we will probably be back. My wife will probably be the doctor again there next year so we will probably be back.
_________________
There'll be two dates on your tombstone/ And all your friends will read 'em/ But all that's gonna matter is that little dash between 'em... |
|
| Back to top |
|
 |
LoudonTN
Addict


Joined: 28 Feb 2005
Posts: 785
City: Boat Mfg U.S.A. - East Tennessee
|
 Posted: Jun 25, 2008 6:51 am Post subject: Posted: Jun 25, 2008 6:51 am Post subject: |
 |
|
My god that is amazing, great job!!!!!
_________________
'05 Supra Launch 24SSV |
|
| Back to top |
|
 |
Commodore
Ladies Man


Joined: 20 Jun 2005
Posts: 11636
|
 Posted: Jun 27, 2008 7:42 am Post subject: Posted: Jun 27, 2008 7:42 am Post subject: |
 |
|
vette74, excellent work man!!! Great job. Well now I know how to handle the plumbing. I have the same layout as yours (with less height) so I figured the bags would go like yours. But I have no idea how I need to run the plumbing. Thanks for the write up, you will be getting questions this winter about it I'm sure.  |
|
| Back to top |
|
 |
|
|
|